Hemming is a sewing technique that involves folding and stitching the edge of a fabric to create a neat, finished appearance — preventing fraying or unravelling over time. Whether you have bought a pair of trousers that are slightly too long, or want to give older clothes a sharper look by shortening them, hemming is a skill that rewards even the most occasional home sewer.
There are different ways to hem, depending on the type of fabric, the style of the garment, and the tools available. This guide covers the most common techniques for altering trousers and shirts at home.
Choosing the right thread is important. For denim, use a heavy-duty thread that matches the colour of the fabric. For delicate materials such as silk or fine wool, use a finer thread that blends with the cloth. The thread weight should always be appropriate to the fabric weight.
Put on your trousers and mark where you want the hem to end — using pins, chalk, or a washable marker. Wear the shoes you plan to pair with them, and stand straight and evenly. It helps considerably to have someone assist with this step. The break of the trouser over the shoe is a matter of personal preference: no break for a modern look, a slight break for the classic standard.
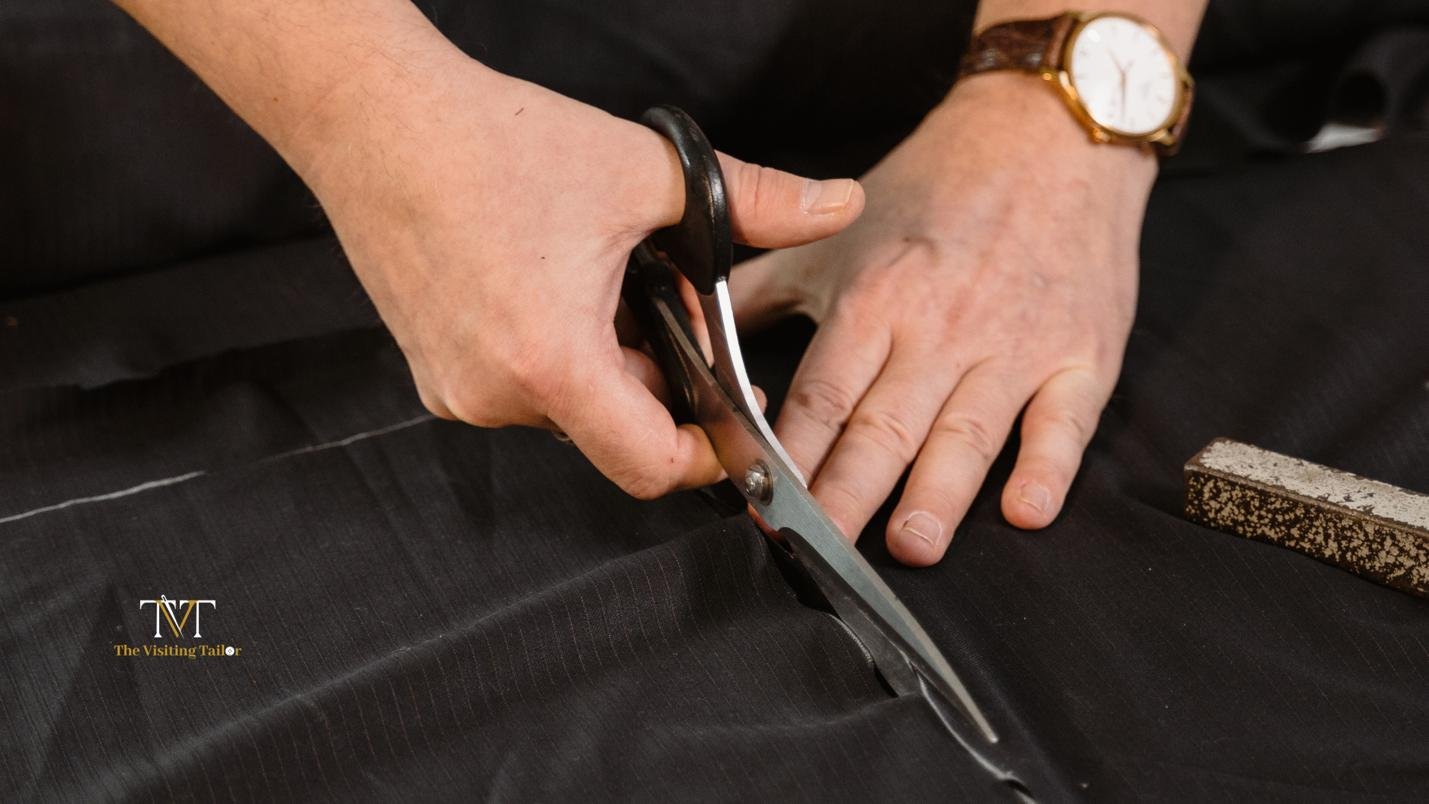
Take off your trousers and measure the distance from the original hem to the marked length. This is how much fabric needs to be removed. Add 1 inch (2.5 cm) to this measurement for the hem allowance — the fold that creates the finished edge. Cut off the excess fabric carefully, remembering you can always trim more but cannot add back what has been cut.
Fold the raw edge of the fabric under by ½ inch (1.3 cm) and press firmly with an iron. This creates a clean edge and prevents fraying before the final hem is sewn. Pressing at each stage makes the sewing considerably easier and the finished result considerably neater.
Fold the fabric again by the full hem allowance and press once more. Pin or clip the folded edge securely in place, checking that the trouser leg is even all the way around before sewing. Any unevenness caught at this stage saves unpicking later.
Sew the hem using a straight stitch, zigzag stitch, or blind hem stitch — depending on the fabric and your preference for visibility. A blind hem stitch creates an almost invisible finish by catching only a few threads of the outer fabric. Trim any excess threads and press the finished hem firmly. Done well, a home hem is indistinguishable from a professional one.
The process for hemming shirts follows the same fundamental steps as trousers. Put on the shirt and mark the desired length. Measure the distance from the original hem and add 1 inch (2.5 cm) for the hem allowance. Cut the excess fabric. Fold the raw edge under by ½ inch and press. Fold again by the full hem allowance, press, pin, and sew using a straight stitch, zigzag, or blind hem stitch. Trim excess threads and press the finished hem.
The main additional consideration with shirts is the hem shape. Many shirts have a curved hem — typically longer at the front and back than at the sides. When shortening, it is worth preserving this curve rather than cutting straight across, as a straight hem on a shirt that was originally curved can look unintentional. Take extra care to ease the fabric around the curves when pressing and pinning.
While home hemming is an excellent skill for straightforward alterations, some garments warrant a professional hand. A bespoke suit trouser, for instance, has a specific drape and break that is best preserved by the tailor who made it — who knows precisely where the hem was set and why. Delicate fabrics, complex curved hems, and any alteration where getting it wrong would damage an investment garment are all cases where The Visiting Tailor’s service adds genuine value.
At The Visiting Tailor, we offer bespoke clothing created from scratch to your exact measurements — which means hemming is built into every garment before it leaves our hands. If you are tired of buying clothes that need shortening, or if you have a garment that deserves more than a home alteration can offer, book a consultation and let us bring the atelier to you.